
A water tank full alarm circuit is a useful electronic project that helps prevent water overflow. When the water level reaches a specific height, the circuit activates a buzzer or alarm to alert you that the tank is full. This beginner-friendly project is simple, inexpensive, and a great way to learn basic electronics.
What Is a Water Tank Full Alarm?
A water tank full alarm is an electronic circuit that detects when water reaches a certain level. It uses the conductivity of water to complete an electrical path. Once the water touches the sensing probes, the circuit is activated and the alarm sounds.
This project can help save water and prevent unnecessary wastage caused by overflowing tanks.
Components Required
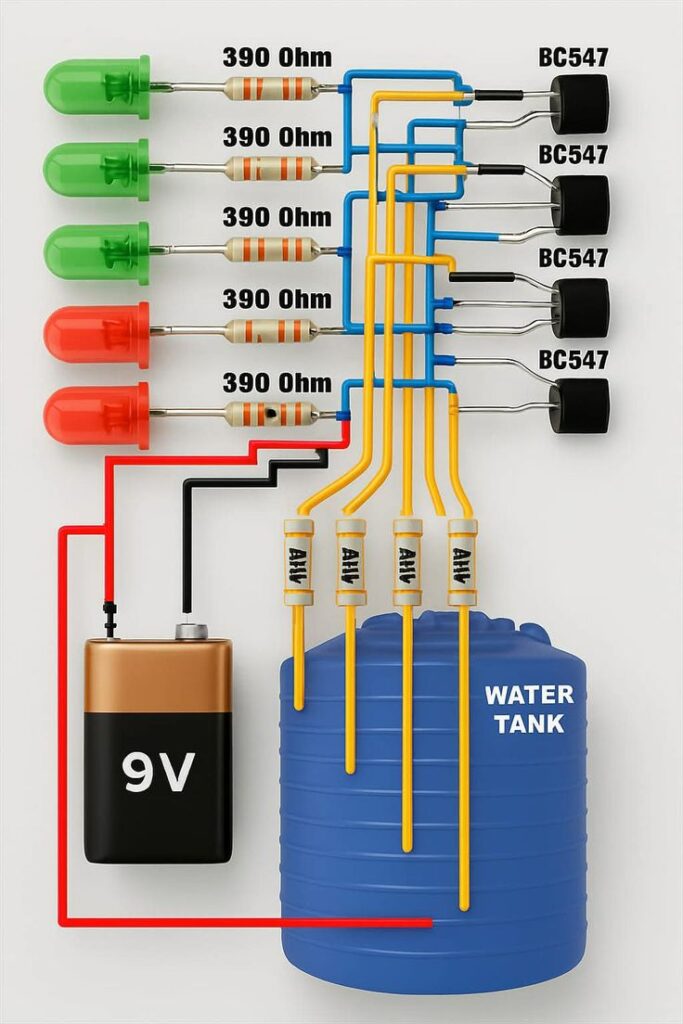
You will need the following components:
- 9V Battery
- Battery Clip
- BC547 NPN Transistor
- 1K Resistor
- Buzzer (5V–12V)
- Connecting Wires
- Small PCB or Breadboard
- Two Metal Probes or Wires for Water Sensing
These components are inexpensive and easily available at electronics stores.
How Does the Circuit Work?
Water contains minerals that allow a small amount of electricity to flow through it. When the water level rises and touches both sensing probes, a small current flows through the water.
This current activates the transistor, which works as an electronic switch. The transistor then allows a larger current to flow from the battery to the buzzer, causing it to sound.
As soon as the water level drops below the probes, the circuit opens and the alarm stops.
Step-by-Step Construction
Step 1: Gather Components
Collect all the required components and check that they are working properly.
Step 2: Connect the Transistor
Place the BC547 transistor on the breadboard or PCB. Identify its Collector, Base, and Emitter pins.
Step 3: Add the Resistor
Connect a 1K resistor to the Base pin of the transistor. This resistor limits the current entering the transistor.
Step 4: Connect the Buzzer
Connect the positive terminal of the buzzer to the positive terminal of the battery.
Connect the negative terminal of the buzzer to the Collector pin of the transistor.
Step 5: Connect the Battery
Connect the Emitter pin of the transistor to the battery’s negative terminal.
Step 6: Install Water Sensors
Attach two metal probes or wires.
- One probe connects to the battery positive terminal.
- The other probe connects to the resistor leading to the transistor Base.
Place these probes near the top of the water tank where you want the alarm to activate.
Step 7: Test the Circuit
Touch both probes with a wet finger or dip them into water. The buzzer should immediately sound.
If the alarm works, your circuit is ready for installation.
Advantages of This Project
- Prevents water overflow
- Saves water
- Low-cost design
- Easy to build
- Ideal for beginners
- Requires very few components
Safety Tips
- Use low-voltage batteries only.
- Keep battery connections dry.
- Insulate exposed wires properly.
- Check the circuit regularly for corrosion on the probes.
Conclusion
The DIY Water Tank Full Alarm Circuit is a practical and educational electronics project. It demonstrates how transistors, resistors, and water conductivity can work together to solve a real-world problem.
Whether you are a student, hobbyist, or electronics beginner, this project is an excellent way to learn basic circuit design while helping conserve water.
#WaterTankAlarm #DIYElectronics #ElectronicsProject #WaterLevelIndicator #CircuitDesign #TransistorCircuit #STEMLearning #ElectronicsDIY #EngineeringProjects #WaterSaving